INSTALLATION GUIDE
How to Use a Tile Leveling System: A Practical Guide for Large-Format Tile

A tile leveling system helps hold neighboring tile edges at a consistent height while the setting mortar cures. The result depends on the whole installation: surface preparation, mortar contact, layout and careful adjustment all matter.
This guide explains how to use bensetimes tile leveling clips, reusable wedges and compatible leveling pliers, with practical checks for large-format tile installation.
What a tile leveling system actually does
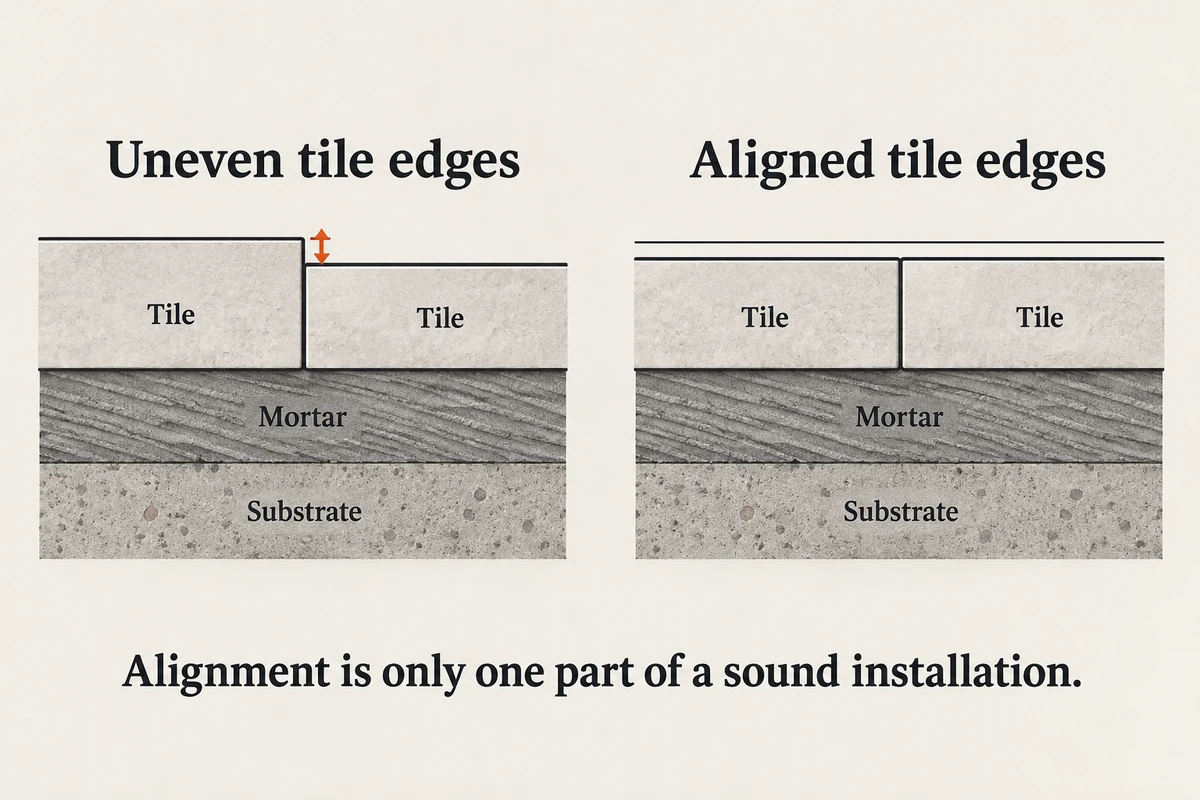
Lippage is the height difference between adjacent tile edges. A clip’s base sits beneath neighboring tiles, while a wedge passes through the clip above them to help maintain alignment.
The system cannot flatten an uneven substrate. Check and prepare the surface before setting tile; tightening wedges is no substitute for correcting underlying problems.
Choose clips before mixing mortar
Confirm three things when choosing your bensetimes tile leveling system:
- Tile thickness: The clip must suit the tile you are installing.
- Joint width: Choose a clip compatible with the specified grout joint. Where the system permits, separate spacers can establish wider joints.
- Component fit: Use compatible clips, wedges and pliers. Similar appearance does not establish compatibility.
bensetimes offers several tile leveling clip options. Share your tile thickness, intended joint width and tile format when requesting a recommendation. A product’s available clip sizes do not determine the correct joint width for every project.
Prepare a small trial assembly before starting the main area. This is a useful opportunity to check component fit and understand the pliers adjustment.
bensetimes tile leveling clips (typically white) and reusable wedges (typically red) are the core components. Colors can vary by manufacturer and do not establish compatibility. Dedicated leveling pliers can make repeated tightening easier, but whether they are required depends on the selected system. A 1/16-inch joint is a feature of some clips, not a universal size; use the joint specified for your tile and installation.
How many tile leveling clips will you need?
Count shared joints once. As a planning example only, suppose the selected system calls for two clips on each edge of a rectangular tile. Four exposed edges would have eight clip positions. Adding a tile that shares one already-equipped edge introduces six new positions; sharing two already-equipped edges introduces four.
For a straight rectangular grid of R rows and C columns, that same two-clips-per-shared-edge assumption gives 2 × [R(C − 1) + C(R − 1)] clips inside the tiled field. A 3 × 4 grid would therefore use 34 internal clips. This is a counting example, not a placement recommendation. Cut pieces, tile size, pattern and the manufacturer's spacing requirements can change the quantity. Perimeter edges without an adjoining tile do not automatically need leveling clips.
How to use tile leveling clips and wedges
1. Plan a manageable working area
Dry-lay a representative section and establish your reference lines. Keep clips, wedges and cleaning tools within reach. Plan where you can stop without needing to reach across fresh tile.
Follow your tile, substrate and mortar manufacturers’ requirements. Protect any specified movement joints and drainage slopes.
2. Spread mortar and verify contact
Choose a mortar and trowel appropriate to the installation. Work within the mortar’s stated open time. Seat the tile into fresh mortar, then periodically lift a tile to check the contact underneath.
Larger tiles or deep backing patterns may need additional mortar on the back to achieve the required coverage. Adjust the method based on what the lifted tile shows. Check mortar contact and support at the tile edges as well as across the tile back.
3. Position clips and set the next tile
Place clip bases beneath the tile edges and install the neighboring tile while the mortar remains workable. Follow the selected system’s placement guidance; avoid treating one clip count or corner distance as universal.
Keep the joint accessible for cleaning. Check the layout before adding tension, so the system holds the arrangement you actually want.
4. Insert wedges with controlled pressure
Slide each wedge into its clip and use compatible pliers where specified. Adjust the tool for the system and apply only the pressure needed for alignment. Use compatible bensetimes tile leveling pliers as directed, and avoid overtightening.
Start the wedge by hand in the orientation specified by the manufacturer. Support the tile as needed and recheck the joint width after tightening. Do not assume alternating wedge directions will prevent movement, or that a fixed number of squeezes guarantees alignment. The aim is consistent neighboring edges while preserving the intended floor plane, including any required slope.
If an edge remains high, pause and investigate the tile seating and mortar beneath it. Do not respond automatically by squeezing harder.
5. Check and clean as you go
Review the joints and adjacent edges before moving on. Remove excess mortar from the tile surface and joints while it is workable, taking care around the clips. Keep enough clear joint depth for the specified grout.
Make this a repeatable sequence: set, align, inspect, clean.
A small soft brush or damp toothbrush can help reach around the clip stems. Use minimal water, avoid flooding the joints, and do not disturb the fresh mortar bed. Hardened mortar around a clip can obstruct clean removal, so this small cleanup step is worth making part of every row.
6. Allow curing, then remove the exposed clips
Observe the mortar and leveling-system instructions before removal. Do not assume every installation is ready after the same number of hours.
Remove the exposed clip sections using the selected system’s specified method and direction. In a conventional breakaway system, the foot remains beneath the tile. Collect reusable wedges and inspect the joints before grouting.
Stopping overnight: plan the next day's starting edge
Plan the stopping edge before the mortar begins to set. Follow the instructions for your selected bensetimes clip model when preparing to continue on another day. Confirm clip access, tile support and the required curing time before resuming. Do not force clips into hardened mortar or disturb the installed tile edges.
Resume only when the installed area is ready for the planned work. Leaving perimeter clips in place does not make uncured tile safe to load or use as an anchor. Likewise, “overnight” is not a universal removal time: mortar type and site conditions determine the required wait.
A practical buying checklist
For an installation trial or wholesale inquiry, send bensetimes:
- Tile dimensions and thickness
- Required grout-joint width
- Installation area and expected daily output
- Preferred clip style and compatible wedge requirements
- Packaging, labeling and destination-market needs
Request a sample combination and evaluate installation, removal and wedge reuse before placing a volume order. Compare systems by the complete working process, including cleanup and replenishment.
Frequently asked questions
Can tile leveling clips fix an uneven floor?
No. They help align neighboring tiles; substrate preparation comes first.
Are tile leveling clips reusable?
Conventional breakaway clips are consumed during removal. Compatible wedges can normally be collected for reuse; follow the product instructions.
How many clips do I need?
Use the selected system’s coverage chart or supplier calculation for your tile format and area. Include cuts and the installation layout in the estimate.
Do leveling clips replace checking mortar coverage?
No. Surface alignment does not reveal how well the underside is supported. Check contact during installation.
Find the right bensetimes combination
Explore our tile leveling clips and wedges and pliers, or request samples and product guidance. Send your tile details so we can discuss a suitable combination for your installation or distribution needs.
Installation note: Follow the instructions for your selected bensetimes components and the tile, substrate and mortar used on the project. The main image illustrates an installation scene; colors and components shown may differ from the selected product. The supporting diagram is conceptual.